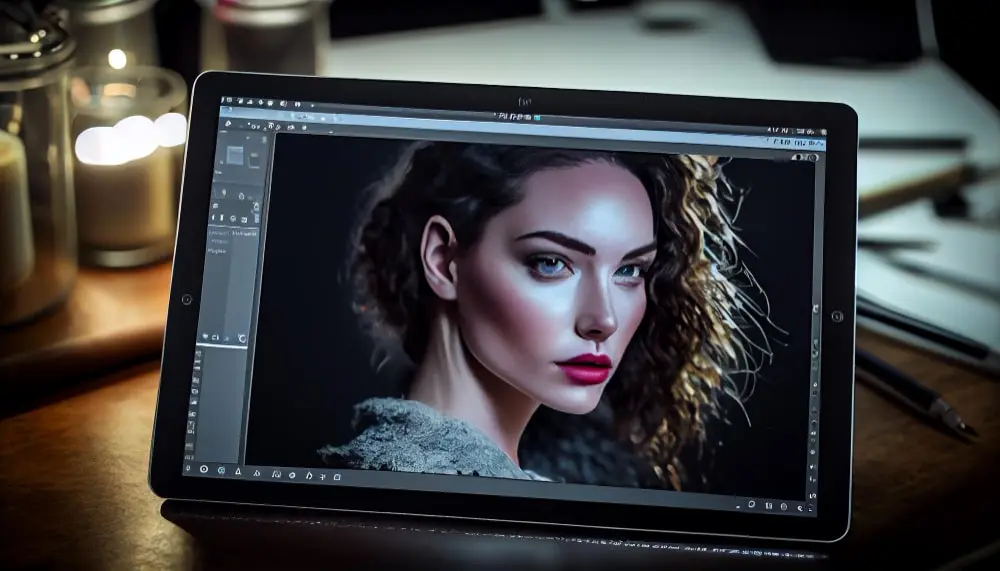


Denim is one of the most iconic fabrics in fashion history, known for its durability and timeless style. But what if you could take that classic look and give it a bold new twist? With Photoshop, you can! By learning how to colour denim in Photoshop, you can add a pop of colour to your wardrobe without touching a dye or paintbrush.
Whether you’re a fashion designer looking to create unique pieces for your collection or just someone who wants to spice up their jeans, the possibilities are endless. With the right techniques and tools, you can create vibrant, eye-catching denim designs that turn heads wherever you go.
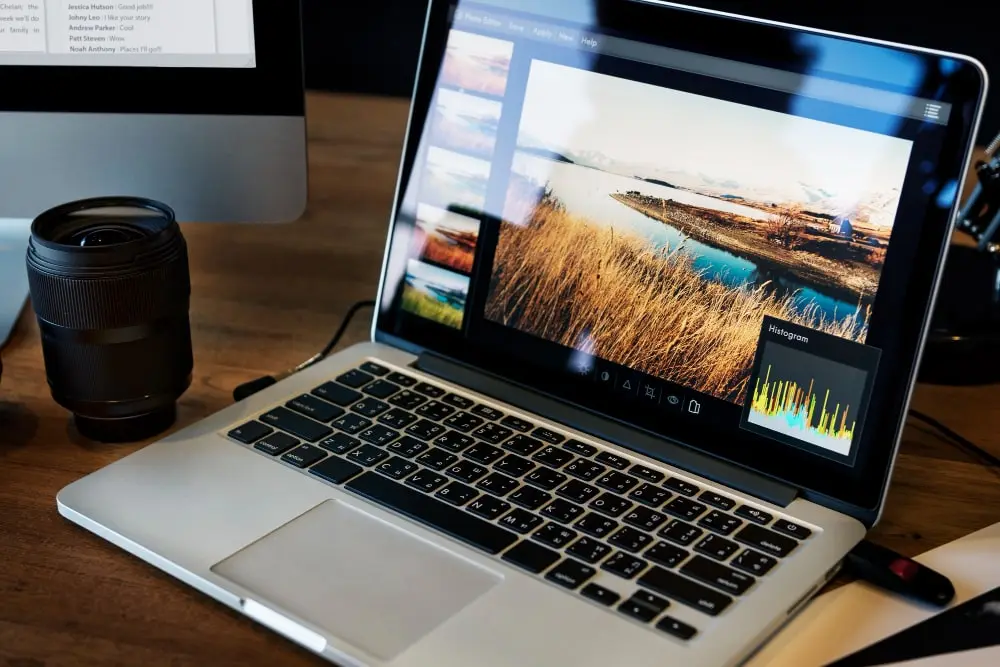
In this tutorial, we’ll show you how to use Photoshop to transform plain denim into a work of art. We’ll cover everything from selecting the right image to work with to applying colour, texture, and other effects to make your denim stand out.
So whether you’re a seasoned Photoshop pro or a complete newbie, get ready to unleash your creativity and take your denim game to the next level!
Amazing Steps to colour denim in Photoshop
Colouring denim in Photoshop is a fun and easy way to add a new dimension to your clothing design projects. Follow these simple steps to transform your denim into a colourful masterpiece.
- Open the Image in Photoshop
- Create a New Layer
- Choose the Brush Tool
- Choose a Color
- Paint the Denim
- Blend the Colors
- Adjust the Hue and Saturation
Step 1: Open the Image in Photoshop

Launch Photoshop and navigate to File > Open in the top menu. This will open a dialogue box where you can choose the image file of the denim you want to colour.
Select the file and click on the “Open” button. This will open the image in the Photoshop workspace, ready for you to start editing.
If you don’t have an image of denim to work with, you can also create a new document in Photoshop and draw or import a denim texture to work on.
To create a new document, go to File > New and set the dimensions and resolution to your desired specifications. Then, you can use the Paint Bucket tool to fill the background with a denim texture or import an existing texture using File > Place.
Step 2: Create a New Layer

The next step in colouring denim is to open the image in Photoshop and create a new layer. This layer will change the colour of the denim without affecting the original image.
Pick “New Layer” from the “Layer” option at the top of the screen to add a new layer. On the Layers panel, this will create a new layer above the original image. To create a new layer, use the keyboard shortcut “Ctrl + Shift + N” (Windows) or “Command + Shift + N” (Mac).
After you’ve generated the new layer, you can begin colouring the denim on it without disturbing the original image. This is a useful step to ensure that any mistakes or modifications made to the new layer may be readily undone without impacting the original image.
Step 3: Choose the Brush Tool

After establishing a new layer, you can start adding colour to the denim. To do this, you’ll need to select the brush tool from the toolbar on the left-hand side of the screen.
A paintbrush icon represents the brush tool, and it allows you to paint straight onto the new layer you created in Step 2.
You can access the brush tool by clicking on its icon in the toolbar or using the keyboard shortcut “B.” After selecting the brush tool, you can alter its size and opacity by using the settings in the toolbar at the top of the screen.
With the brush tool selected and the parameters modified to your taste, you’re ready to start adding colour to the denim on the new layer!
Step 4: Choose a Color

After selecting the area of the denim you want to colour, it’s time to choose the colour you want to apply. To do this, you’ll use the Color Picker tool in Photoshop. This tool can be accessed by clicking on the foreground colour swatch in the Tools panel, which is usually on the screen’s left side.
When you click on the foreground colour swatch, a Color Picker dialog box will appear. You can choose any colour you want by either clicking on one of the colour squares in the Color Picker or typing in the numerical values for the colour you want in the appropriate fields.
Once you’ve selected the colour you want, click OK to close the Color Picker dialog box. The colour you’ve chosen will now be set as the foreground colour.
Now you’re ready to apply the colour to the selected area of the denim using the Brush tool or other painting tools in Photoshop. Simply start painting over the area you want to colour with the Brush tool, and your chosen colour will be applied.
Step 5: Paint the Denim

Now that you’ve selected the area of the denim you want to colour and chosen the colour you want to use, it’s time to start painting the denim.
To do this, select the Brush tool from the Tools panel on the left side of the screen. The Brush tool looks like a paintbrush and is usually located near the top of the Tools panel.
Once you’ve selected the Brush tool, adjust the brush settings as needed. You can do this by clicking on the Brush Preset Picker in the Options bar at the top of the screen. From there, you can choose your brush’s size, shape, and hardness.
Now, start painting over the selected area of the denim with the Brush tool. The colour you chose in Step 4 will be applied to the denim as you paint. You can use different brush sizes and shapes to achieve different effects and create different textures.
If you make a mistake or want to undo your last brush stroke, you can use the Undo command by going to Edit > Undo or by using the keyboard shortcut Ctrl + Z (Windows) or Command + Z (Mac).
Continue painting until you’ve achieved the desired look for your denim. Once you’re happy with the result, you can save your work and export the image in the desired format.
Step 6: Blend the Colors

After painting the denim with the desired colour, you may want to blend the colours together to create a more natural and seamless look. To do this, you can use the Smudge tool in Photoshop.
To access the Smudge tool, select it from the Tools panel on the left side of the screen. It looks like a pointing finger with a circle around it.
Once you’ve selected the Smudge tool, adjust the brush settings as needed. You can do this by clicking on the Brush Preset Picker in the Options bar at the top of the screen. From there, you can choose your brush’s size, shape, and hardness.
Now, start smudging the painted area of the denim using the Smudge tool. This will help blend the colours and create a more natural look.
You can also adjust the strength of the Smudge tool by changing the value in the Strength field in the Options bar. A higher value will result in stronger smudging, while a lower value will result in more subtle blending.
Continue smudging until you’ve achieved the desired look for your denim. Once you’re happy with the result, you can save your work and export the image in the desired format.
Step 7: Adjust the Hue and Saturation

After blending the colours together using the Smudge tool, you may want to adjust the hue and saturation of the coloured denim to achieve the desired look. You can use the Hue/Saturation adjustment layer in Photoshop to do this.
To add a Hue/Saturation adjustment layer, click on the Adjustment Layers icon in the Layers panel (it looks like a half-black/half-white circle) and select Hue/Saturation from the menu that appears.
Once you’ve added the adjustment layer, you can adjust the hue, saturation, and lightness of the coloured denim using the sliders in the Properties panel. The Hue slider changes the colour of the denim, the Saturation slider adjusts the intensity of the colour, and the Lightness slider adjusts the brightness of the colour.
You can also use the eyedropper tool in the Properties panel to select a specific colour in the denim and adjust its hue and saturation individually.
Once you’re happy with your adjustments, you can save your work and export the image in the desired format.
Final Words:
In conclusion, colouring denim in Photoshop is a fun and easy way to experiment with different colours and create unique designs. By following these simple steps, you can easily colour denim in Photoshop and achieve your desired look. Happy designing!