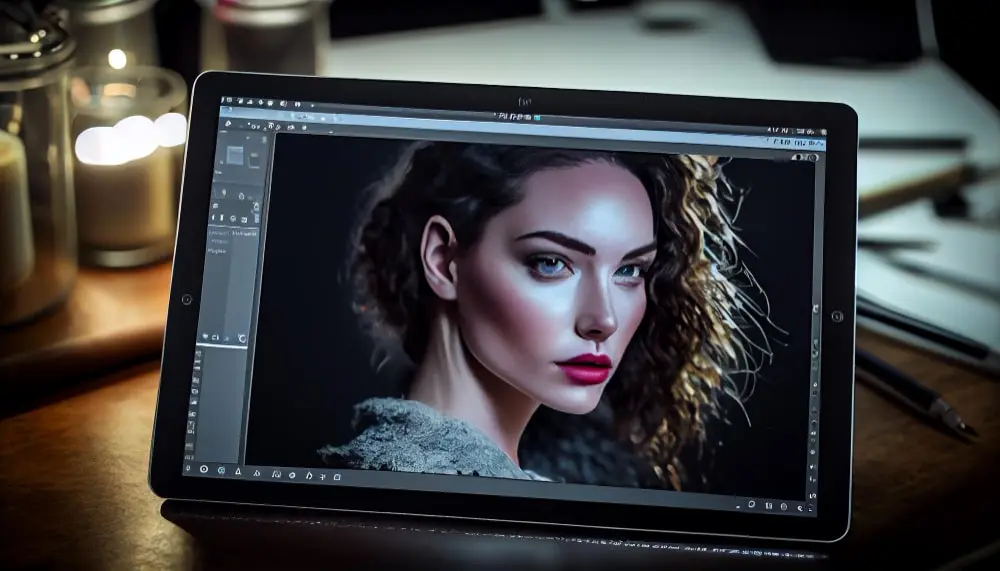


Photoshop is a powerful application that enables you to unleash your creativity and add various effects to your photographs.
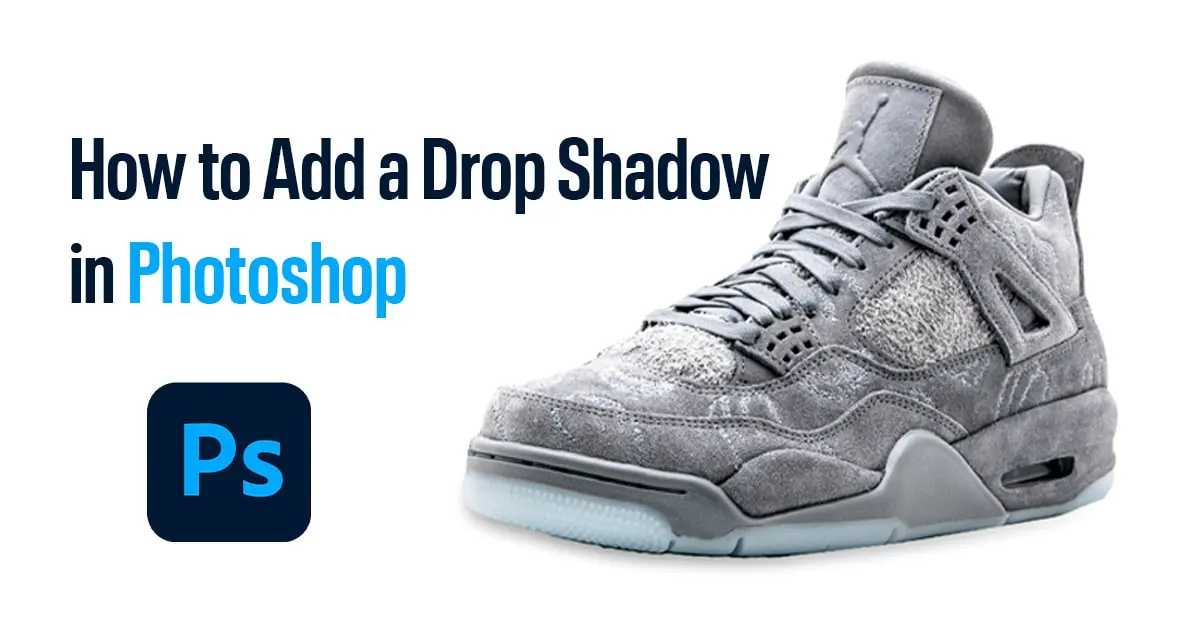
The drop shadow is one such effect that may give the depth and substance of your creation. When used correctly, a drop shadow gives the appearance of a shadow behind an item, giving the impression that it is hovering above its background.
This step-by-step tutorial will show you how to add drop shadow in Photoshop whether you’re an experienced Photoshop user or just beginning trying to improve your design skills.
Step 1: Launch Photoshop and Open Your Image

Before we dive into the drop shadow magic, let’s explore some interesting statistics. Did you know that Photoshop is the most widely used image editing software worldwide?
According to recent surveys, it holds an impressive market share of over 90% in the digital image editing service industry.
Now, back to our tutorial! Ensure you have Photoshop installed on your computer. Once launched, open the image you wish to work on by going to “File” > “Open” and selecting the desired image file.
Step 2: Duplicate the Image Layer

To preserve your original image, it’s essential to work on a duplicate layer. This technique is widely used by professional image editing services to maintain the integrity of the original while applying various effects like drop shadows and clipping paths.
Right-click on your image layer in the Layers panel and choose “Duplicate Layer.” Alternatively, you can drag the layer to the “New Layer” icon at the bottom of the Layers panel.
Step 3: Select the Layer to Apply the Drop Shadow

Before we proceed, let’s briefly touch upon the concept of clipping paths. A clipping path is a closed vector path or shape used to cut out a 2D image in photo editing software. It allows you to isolate specific elements within an image, making it easier to apply effects like drop shadows.
Once you’ve understood this, ensure you have the duplicated layer selected in the Layers panel. The drop shadow will be applied to this layer.
Step 4: Access the Layer Style Dialog

There are multiple ways to access the Layer Style dialog. The quickest method is by double-clicking on the duplicated layer in the Layers panel.
Another way is by going to the top menu and selecting “Layer” > “Layer Style” > “Drop Shadow.”
Step 5: Customize the Drop Shadow

In the Layer Style dialog, you’ll find various options to customize your drop shadow. According to recent surveys, drop shadows are among the top five most commonly used layer effects by graphic designers and photo editors.
Here’s how you can tailor your drop shadow:
- Blend Mode: This determines how the drop shadow interacts with the underlying layers. In most cases, “Multiply” works well for a natural shadow effect.
- Opacity: Adjust the opacity to control the intensity of the shadow. A lower opacity creates a more subtle shadow.
- Angle: Set the light source’s angle to determine the direction of the shadow. Keep it consistent with the image’s light source for a realistic effect.
- Distance and Spread: Distance controls how far the shadow extends from the object, while Spread determines the size of the shadow. Play with these settings to achieve the desired result.
- Size: This adjusts the softness of the shadow’s edges. A higher value creates a softer, more diffused shadow.
- Color: By default, the shadow is black, but you can click on the color box to choose a custom shadow color that complements your image.
Step 6: Save and Apply the Drop Shadow

Once you’re satisfied with your drop shadow settings, click “OK” to apply the effect to your image.
Step 7: Fine-Tune the Drop Shadow (Optional)

If you’re not entirely happy with the result, don’t worry! You can always go back and make adjustments. Double-click on the “Drop Shadow” layer style in the Layers panel to reopen the Layer Style dialog and make any necessary changes.
Utilizing Layer Styles for Additional Effects
Aside from drop shadows, Photoshop’s Layer Styles offer a plethora of other effects to experiment with. You can explore options like Inner Shadow, Outer Glow, Bevel & Emboss, and more.
These effects can be combined to create eye-catching designs with depth and texture.
Clipping paths also play a significant role in photo editing services, enabling precise selections and seamless integration of images into different backgrounds.
Applying Multiple Drop Shadows for Artistic Depth
To take your design to the next level, consider adding multiple drop shadows with varying settings to create unique and artistic effects.
Experiment with different angles, colors, and opacities to produce stunning visuals that stand out.
Conclusion
Adding a drop shadow in Photoshop is a simple yet effective way to elevate your images and designs.
By following this step-by-step guide, you can effortlessly create depth and dimension, breathing life into your artwork. Remember to play around with different settings and explore other Layer Styles to unleash your creativity fully.
With practice, you’ll master this technique and use it to add a professional touch to your projects. So, let your imagination soar, and start incorporating drop shadows to bring your images to life!